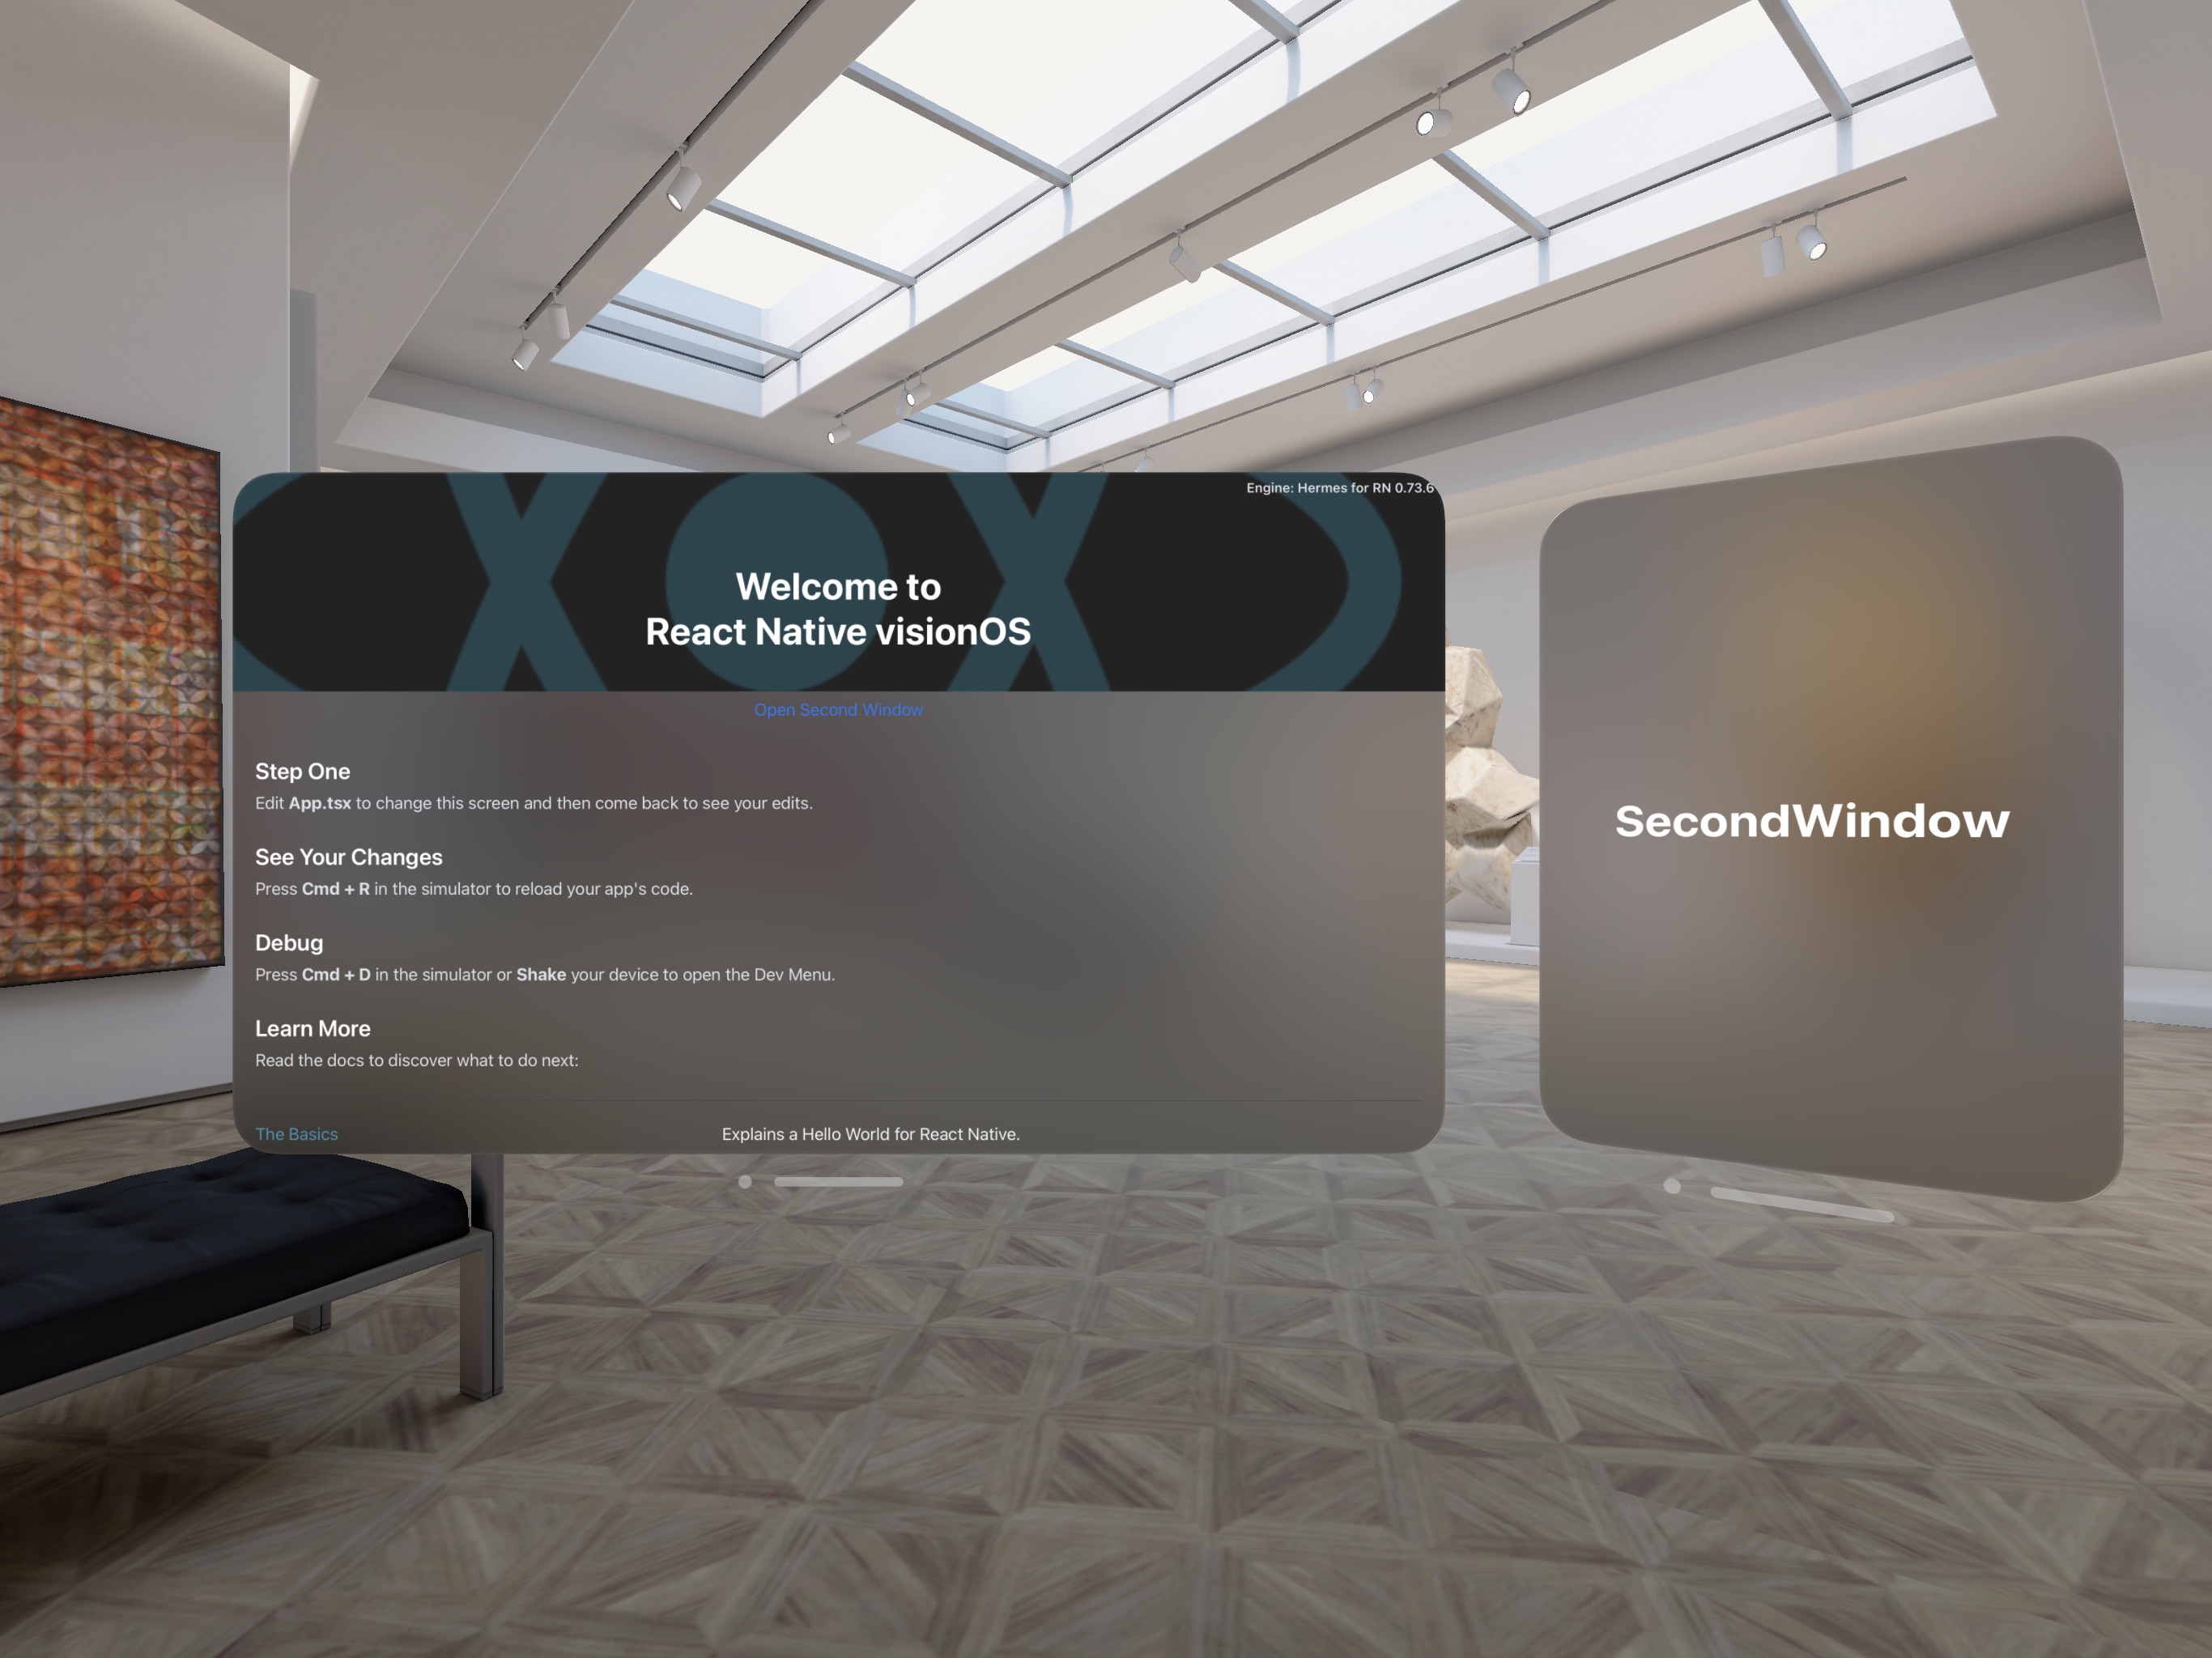
Window Manager
This API allows you to create multi-window experiences on visionOS.

Methods
getWindow
getWindow(id: String): Window;
The getWindow method returns a Window object, which contains following properties:
interface Window {
  id: String;
  open(props?: Object): Promise<void>;
  update(props: Object): Promise<void>;
  close(): Promise<void>;
}
Constants
supportsMultipleScenes
supportsMultipleScenes: boolean;
A Boolean value that indicates whether the app may display multiple scenes simultaneously. Returns the value of UIApplicationSupportsMultipleScenes key from Info.plist.
UIApplicationSupportsMultipleScenes
In order to use this API, make sure your app supports multiple scenes. Set UIApplicationSupportsMultipleScenes to true in Info.plist:
<dict>
  <key>UIApplicationSceneManifest</key>
  <dict>
    <key>UIApplicationPreferredDefaultSceneSessionRole</key>
    <string>UIWindowSceneSessionRoleApplication</string>
    <key>UIApplicationSupportsMultipleScenes</key>
    <true/>
    <key>UISceneConfigurations</key>
    <dict/>
  </dict>
</dict>
</plist>
Example usage
- Create a new component that will be used as an entry point for the second window:
import { Text, View } from "react-native";
import React from "react";

const SecondWindow = () => {
  return (
    <View>
      <Text>SecondWindow</Text>
    </View>
  );
};

export default SecondWindow;
- In
index.jsuseAppRegistry.registerComponentto register additional component:
AppRegistry.registerComponent("SecondWindow", () => SecondWindow);
Add native entry point
In App.swift add a second window and pass it sceneData object.
We need to retrieve reactContext from the environment, it contains data passed to windows from JS side.
Object returned from the getSceneData method is reactive (uses Swift Observation Framework) which means that it will cause views to re-render when updated from JS side.
@main
struct HelloWorldApp: App {
  @UIApplicationDelegateAdaptor var delegate: AppDelegate

  @Environment(\.reactContext) private var reactContext

  var body: some Scene {
    RCTMainWindow(moduleName: "HelloWorld")
    RCTWindow(id: "SecondWindow", sceneData: reactContext.getSceneData(id: "SecondWindow"))
  }
}
4. Open Windows from JS
const secondWindow = WindowManager.getWindow("SecondWindow");

const Example = () => {
  return (
    <View style={styles.container}>
      <Button
        title="Open Second Window"
        onPress={() => {
          secondWindow.open({ title: "React Native Window" });
        }}
      />
      <Button
        title="Update Second Window"
        onPress={() => {
          secondWindow.update({ title: "Updated Window" });
        }}
      />
      <Button
        title="Close Second Window"
        onPress={() => {
          secondWindow.close();
        }}
      />
    </View>
  );
};
(Optional) 5. Use SwiftUI to render windows
Sometimes you might need to use SwiftUI for particular window and thanks to Swift Observation, SwiftUI views will be properly re-rendered when user calls window.update({props}).
In order to use SwiftUI as a view instead of RCTWindow create a new SwiftUI view and accept sceneData as parameter. This allows us to reach to the sceneData.props dictionary and retrieve props passed from the JS side.
import SwiftUI
import React_RCTSwiftExtensions

struct SecondWindow: View {
  let sceneData: RCTSceneData?

  var body: some View {
    if let sceneData {
      Text(sceneData.props?["title"] as? String ?? "Title wasn't passed")
    }
  }
}
Next, in App.swift, add new WindowGroup:
@main
struct HelloWorldApp: App {
  @UIApplicationDelegateAdaptor var delegate: AppDelegate

  @Environment(\.reactContext) private var reactContext

  var body: some Scene {
    RCTMainWindow(moduleName: "HelloWorld")
    WindowGroup(id: "SecondWindow") {
      SecondWindow(sceneData: reactContext.getSceneData(id: "SecondWindow"))
    }
  }
}